In this post, I am trying to formalize a few practical lessons from the Libre Type workshop, which I gave in February 2013 at HEAD in Geneva. Globally, the group dynamic worked great, I believe this was the most successful workshop I have been running so far.
Here are some raw notes about things that worked great, or could be improved.
1: forming the working groups
This was an important step in the process: in the very beginning, we defined the main work areas that were needed to achieve the target (i.e. produce a comprehensive type specimen catalog of open source fonts, in five days). I wrote those areas on sticky notes, posted them on a wall. Then each participant wrote his name on a sticky note, and added himself to one of the work areas.
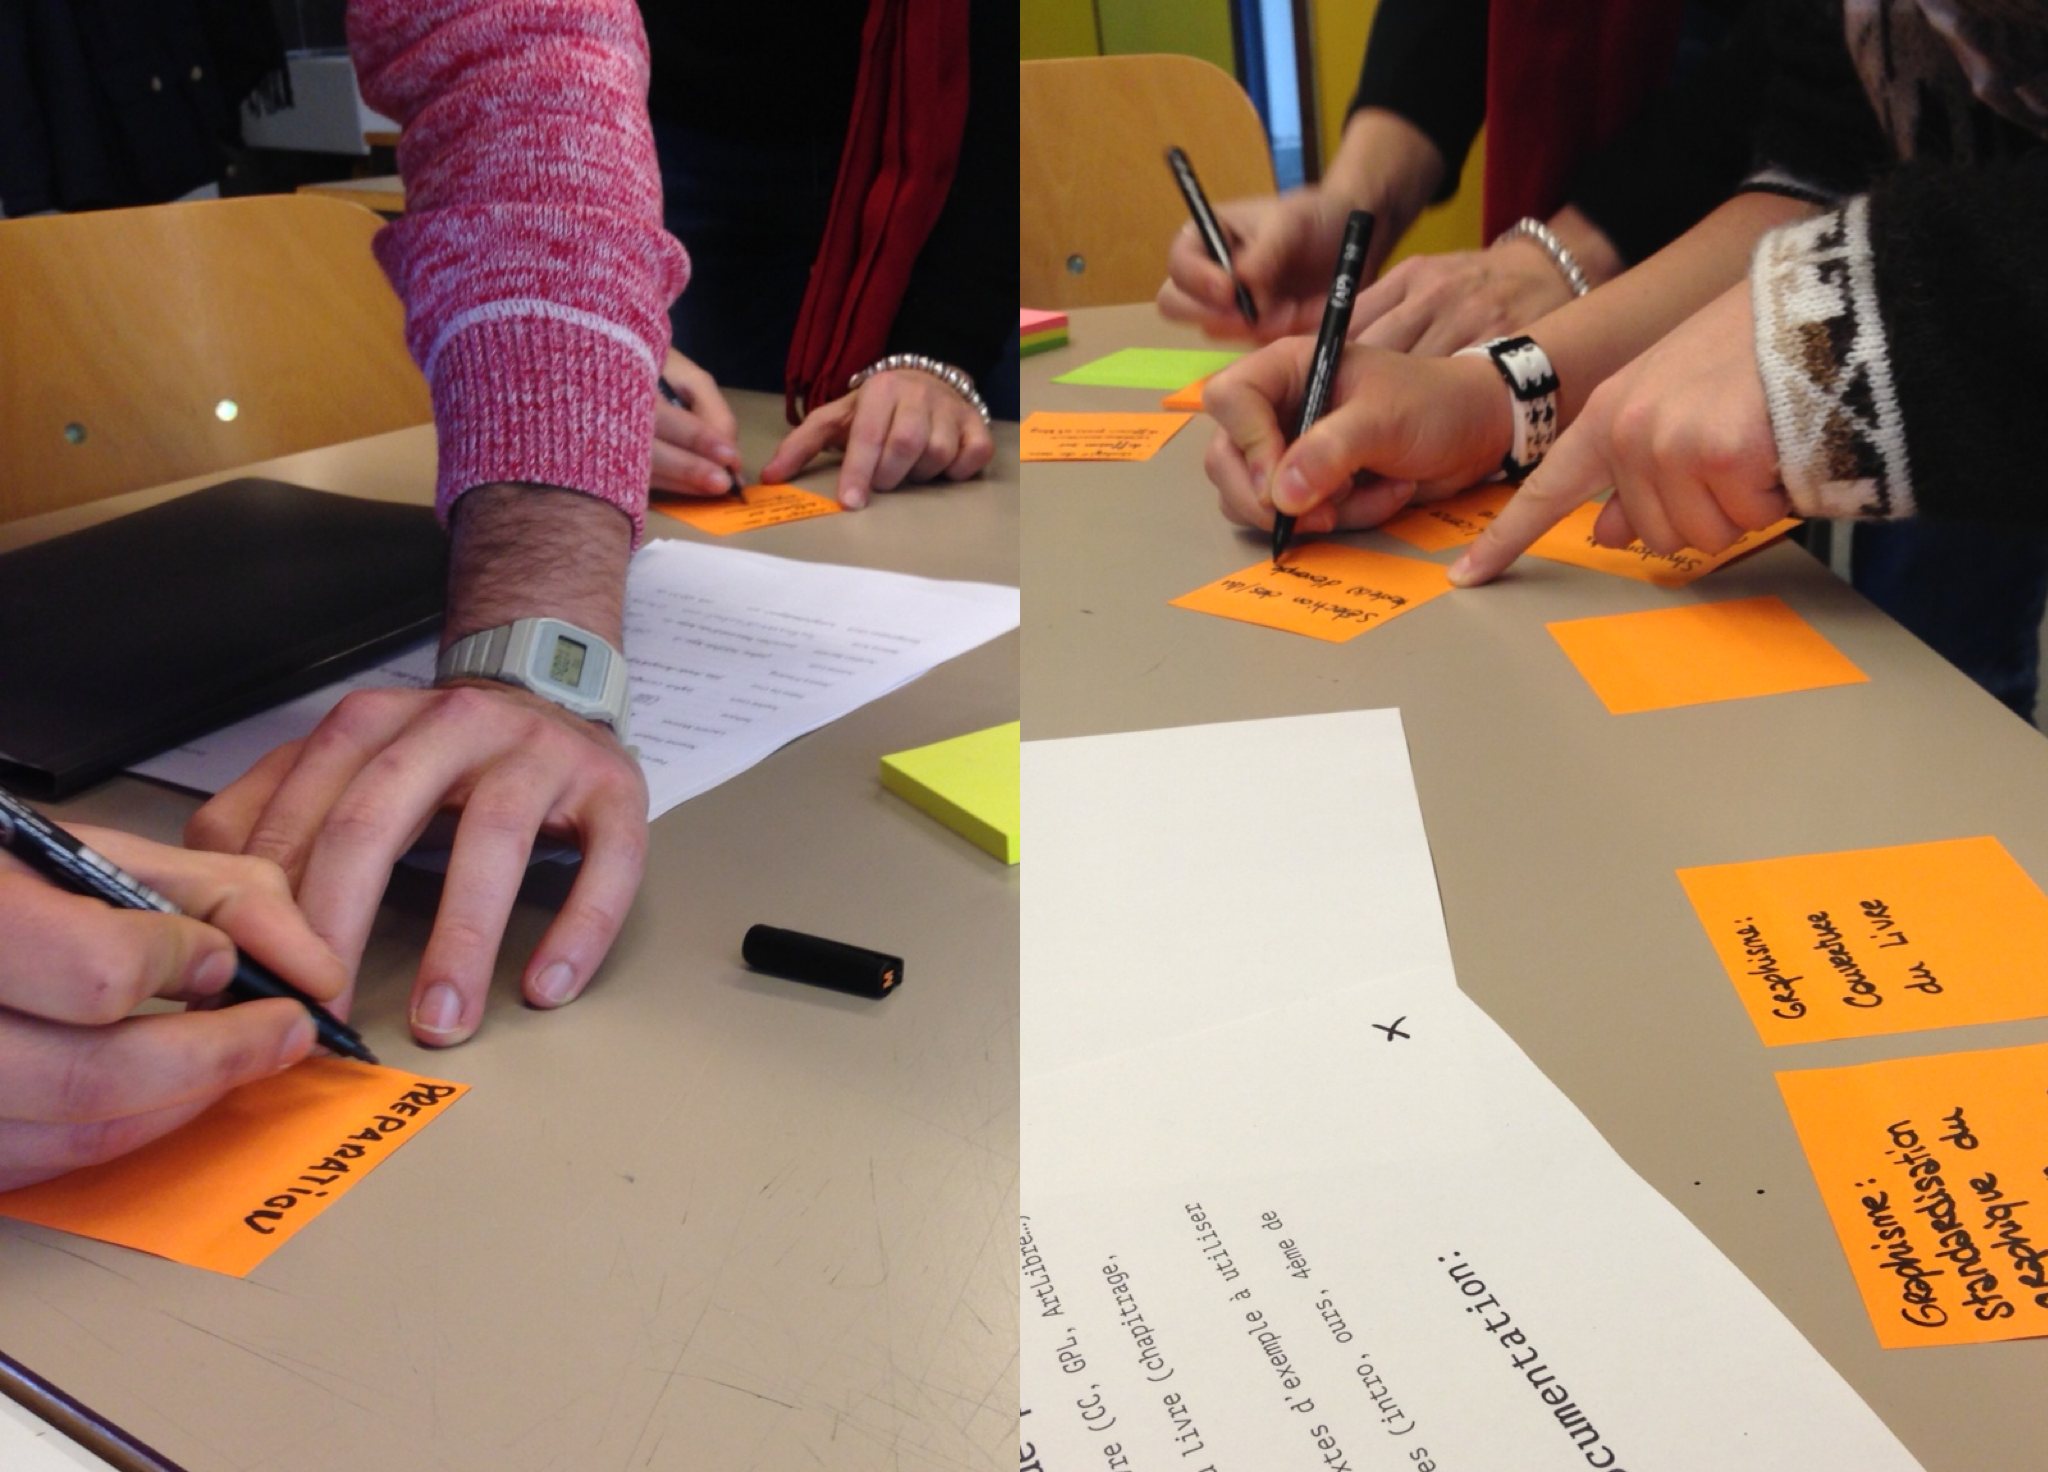
We didn’t actually consult this pinboard during the week, since everybody knew what they had to do… But I think this simple action helped in making everyone feel involved. It didn’t leave room for ambiguity.
What could be improved?
We could have made that board more useful, so that it would serve as a graph of “what has been done, what needs still to be done”. A work process visualization, with accomplished tasks being checked off.
2: tools
I brought along a few basic things: Post-It sticky notes of various colors and formats (not the expensive branded ones, but a cheaper version found at Migros), colored tape, black markers. I printed a schedule of the week, which I distributed to each participant. I printed a table where the participants could enter their names, phone nrs and emails. It was another way to formalize the participants’ involvement in the workshop – there was a written record of their presence.
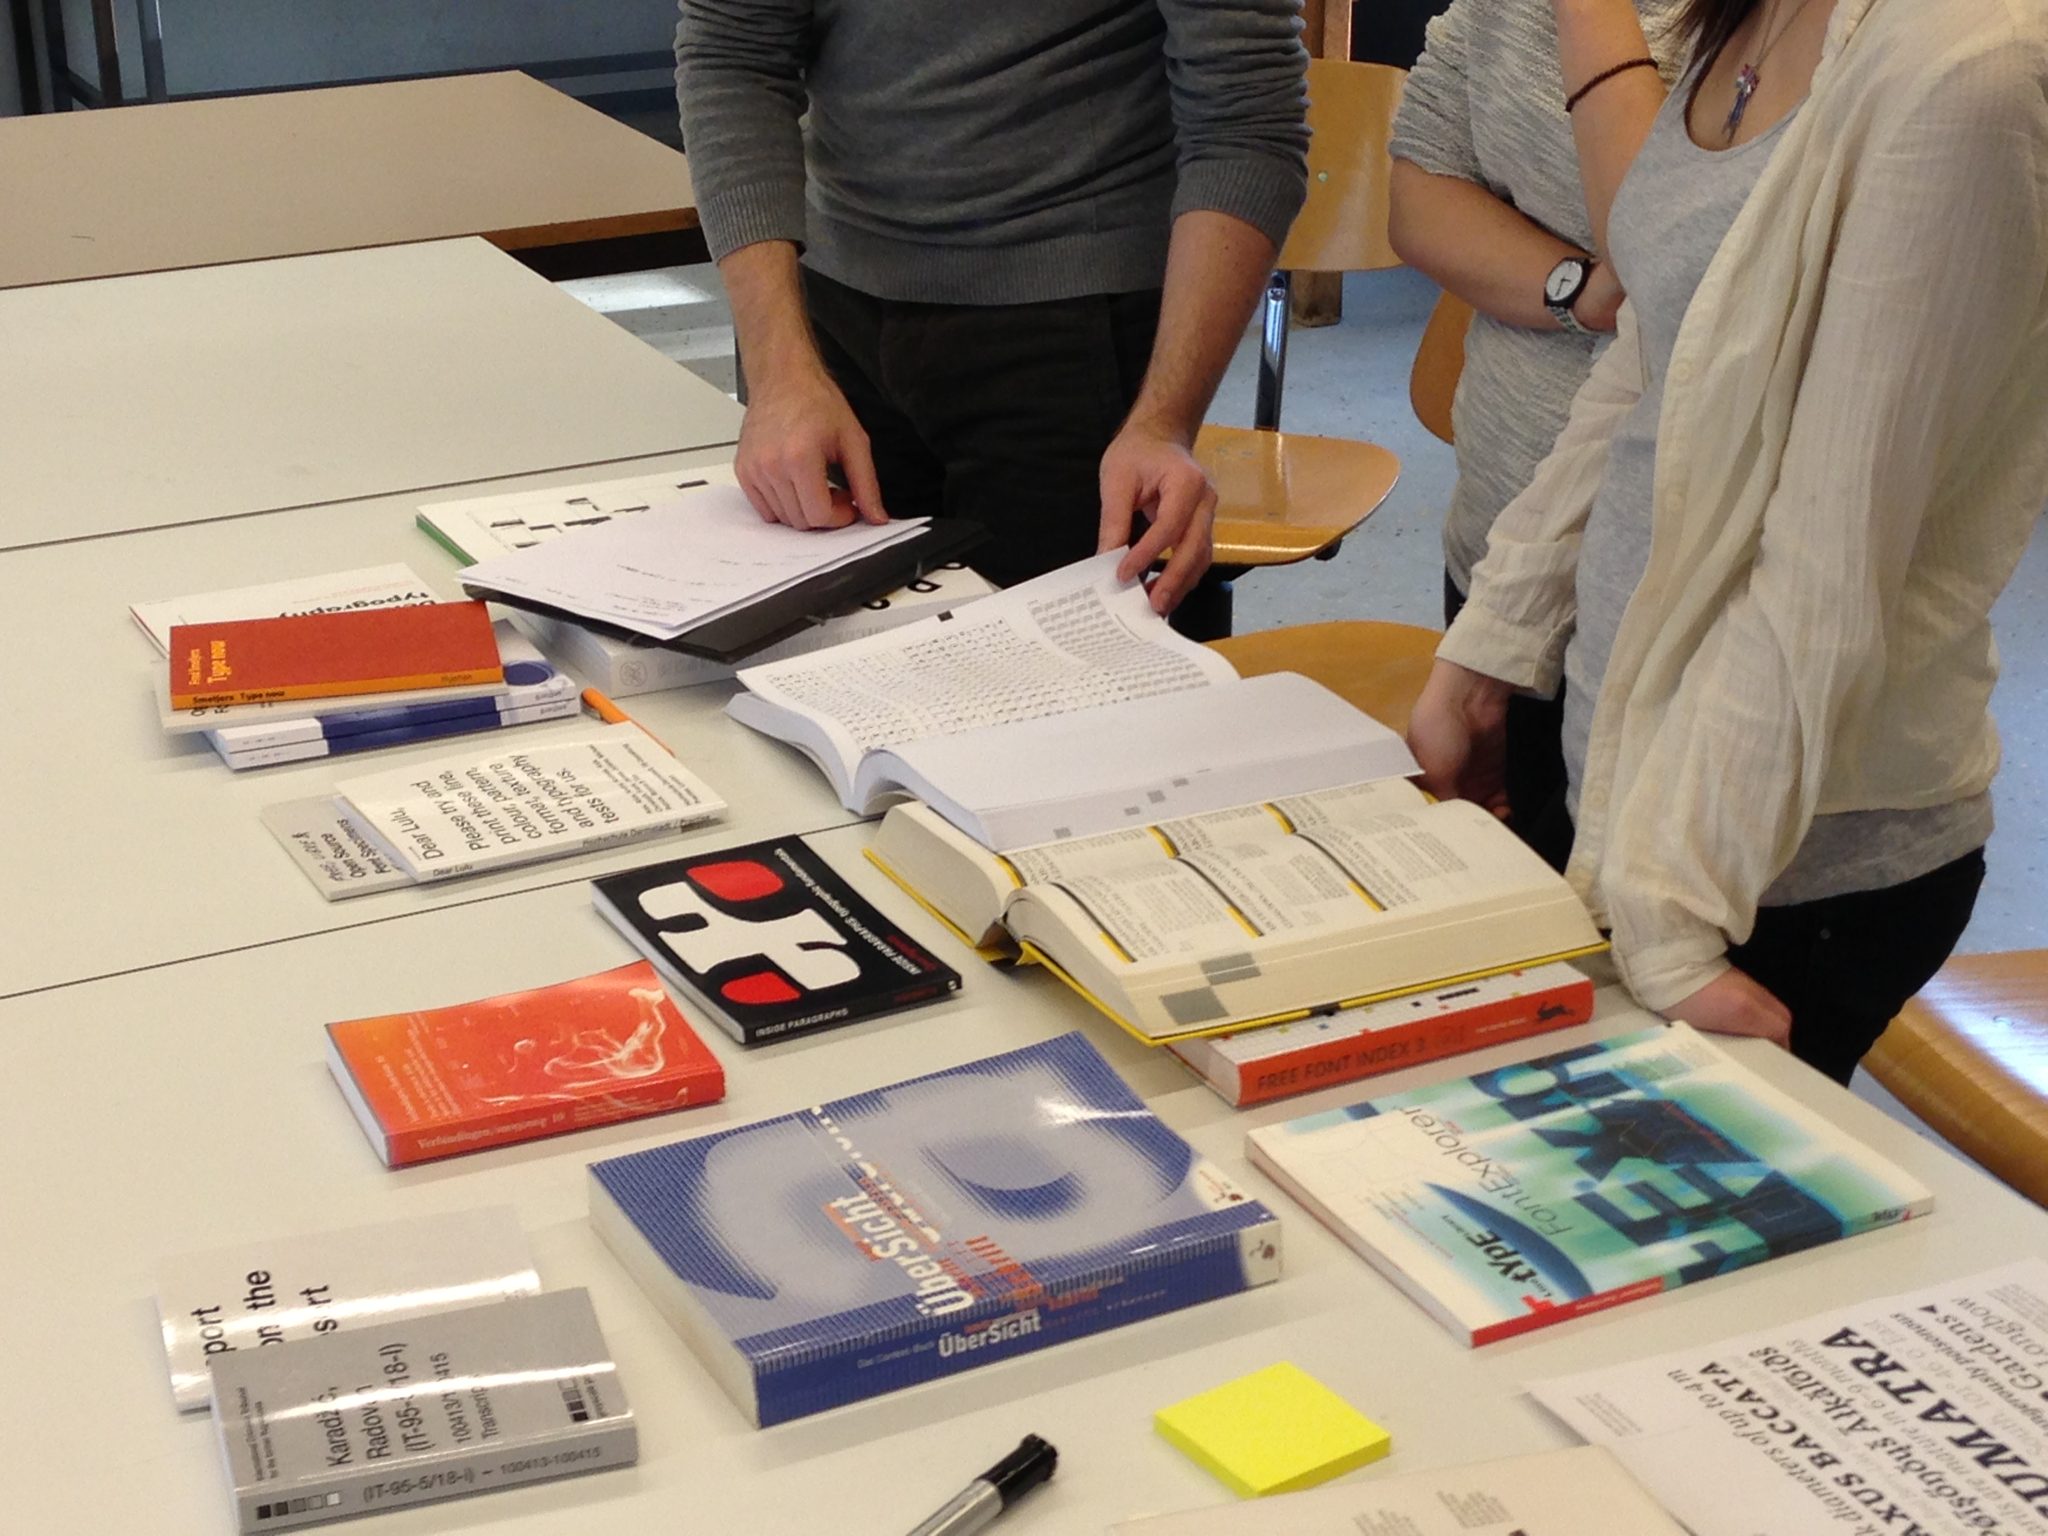
I also brought along a number of books related to the workshop topic: a little library on typography, including specimen books by Jean-Baptiste Levée, Radim Pesko, books on type design by Jost Hochuli and Cyrus Highsmith, etc.
This was extremely useful, it showed some possible directions, it provided examples of book formats, participants could look at them for inspiration, it gave a reference framework.
We could see that we weren’t working in a vacuum. It showed real-world applications, a gate out of the confinement of school exercises. The books served as physical proofs of how ideas and experiments can be turned into reality.
What could be improved?
Participants should be encouraged – from the first day – to bring along their own reference books. Also, add a pair of scissors and a ruler on the list of materials.
3: photo documentation
Put two people in charge of photo-documentation.
Documenting the work process is important – I learned this from previous workshops. Meaningful actions need visible traces. This seems like a secondary thing at the moment of the workshop, but it will prove extremely valuable afterwards.
Documentation won’t happen automatically. It’s a serious task, it’s real work, and is has to be clearly assigned. It’s best handled by two people (otherwise the photographer will be excluded from the documentation).
Check who in the group owns a high-resolution photo camera – actually the camera doesn’t matter that much, but usually that person will have a good eye for composition, will take the task seriously, and will do a good job, even with a phone camera. Make sure that photos are being taken regularly, documenting all the steps of the process. Make sure that they make good portrait shots of the individual participants. Make a few group photos (for instance, one in the beginning, one in the end).
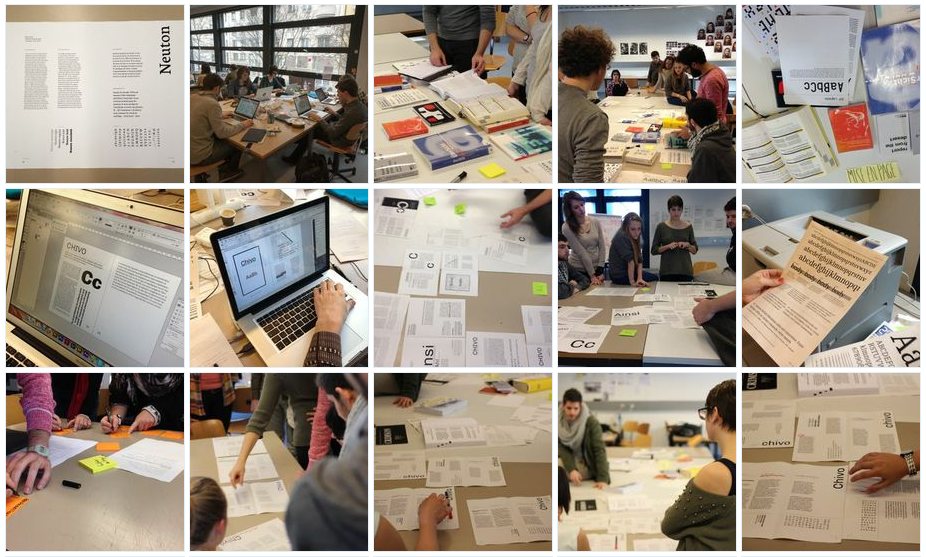
Overall, this worked extremely well, the people in charge produced an impressive amount of quality imagery. We set up a shared folder (using AeroFS to accommodate the size of RAW images – after the 5 days we had about 5gb of pics). Selections of photos were shared, almost in real time, through Twitter and Facebook accounts.
What could be improved?
We could have been even more systematic, and make individual portrait shots of the participants holding a sample font specimen they designed. We did such an iconic photo with Patricio as the model. It would have been even better if we did such a photo with each participant.
4: technical issues
A few important areas for improvement are related to the technical particularities of print-on-demand publishing, and working with shared template files.
- Study very precisely the requirements of the print-on-demand printer. They need to be followed accurately, more so than with a traditional printer, since EVERYTHING is automatized and there’s no room for approximation.
- For instance, we used a “standard” bleed size of 5mm, which is wider than the required Amazon bleed size. I didn’t think this would matter, believeing that the validator would be smart enough to recognize where the bleed stops, and where the content (art box) of the PDF begins. Wrong assumption! If your bleed is larger (and if the interior bleed isn’t set to zero!!) it will add to the margins of your book (in our case, it shifted the right page by 1 cm).
- Don’t make any assumptions – test all the time, not just in the end. As soon as you have 5 pages, make a PDF with those 5 pages + a few hundred blank pages (important: match the target size of the book, as the number of pages will determine the required inner margin) upload it, and run it through the validator.
- When preparing the shared file templates (to be used by the whole group), even when time’s running out, don’t rush. The time spent verifying and optimizing the templates will pay off. Any mistake in that file will vastly increase the debugging time (multiplied by the number of workshop participants). Once they start making individual copies of the template, every further correction has to be done in each file. This happened to us, when on the third day, once we had our template, we were so impatient to begin. So we rushed forward with some small mistakes both in the template and in the source text file. In the template, the copyright information wasn’t right. In the source file, the text was justified (we should have adjusted it to the left) and it had line returns (we should have search/replaced all of them in the source file).
- Once we discovered the corrections that were needed in the template, we didn’t convey this clearly to each participant. We tried to correct it person-by-person – and of course we missed some people in the process, so several mistakes were carried over into the finalized file. Instead, once we identified the mistakes, we should have done a group session, to make sure that everybody gets the same, full information, at the same time.
5: File naming conventions
This was actually on the to-do list of one of the groups. But we didn’t implement a clear file naming and folder structure policy, so things “just happened”. As a result, the folder organization wasn’t very clear, and once everything is on GitHub, it’s not easy to move the files around (you need to go into the command line…).
So, don’t skip that topic in the very beginning. It’s important! Ensure that the following gets done:
- Implement a coherent file naming scheme, with version numbers, identifiers of the participants, etc.
- Create a clear folder structure.
- Explain in the README file how the file naming and folder structure work.
Some other ideas for improvement:
- for gathering feedback, a survey could be sent to all the participants, a few days after the workshop.
- A participation certificate could be designed, and handed out to each participant at the end of the workshop.
This post is part 4/10 of the #back2blog series.